
Every Salesforce Admin has faced this scenario: you need to perform a large data import, but you don’t always want your active Flows to run during the process. Perhaps you are migrating legacy data where dates are already fixed, but your Flow is configured to automatically set fields—such as a “Client Start Date”—to “Today” whenever a status changes to “Active”.
If you leave the Flow active, your historical data gets overwritten. If you deactivate the Flow, you risk blocking automation for live users working in the system.
The solution? Create a “Bypass” mechanism using Custom Permissions.
Here is a step-by-step guide on how to implement this cleanly, ensuring you can keep your Flows active while safely importing data.
Step 1: Create the Custom Permission
Instead of hardcoding user IDs or profiles into your automation (which is a bad practice), we use a Custom Permission.
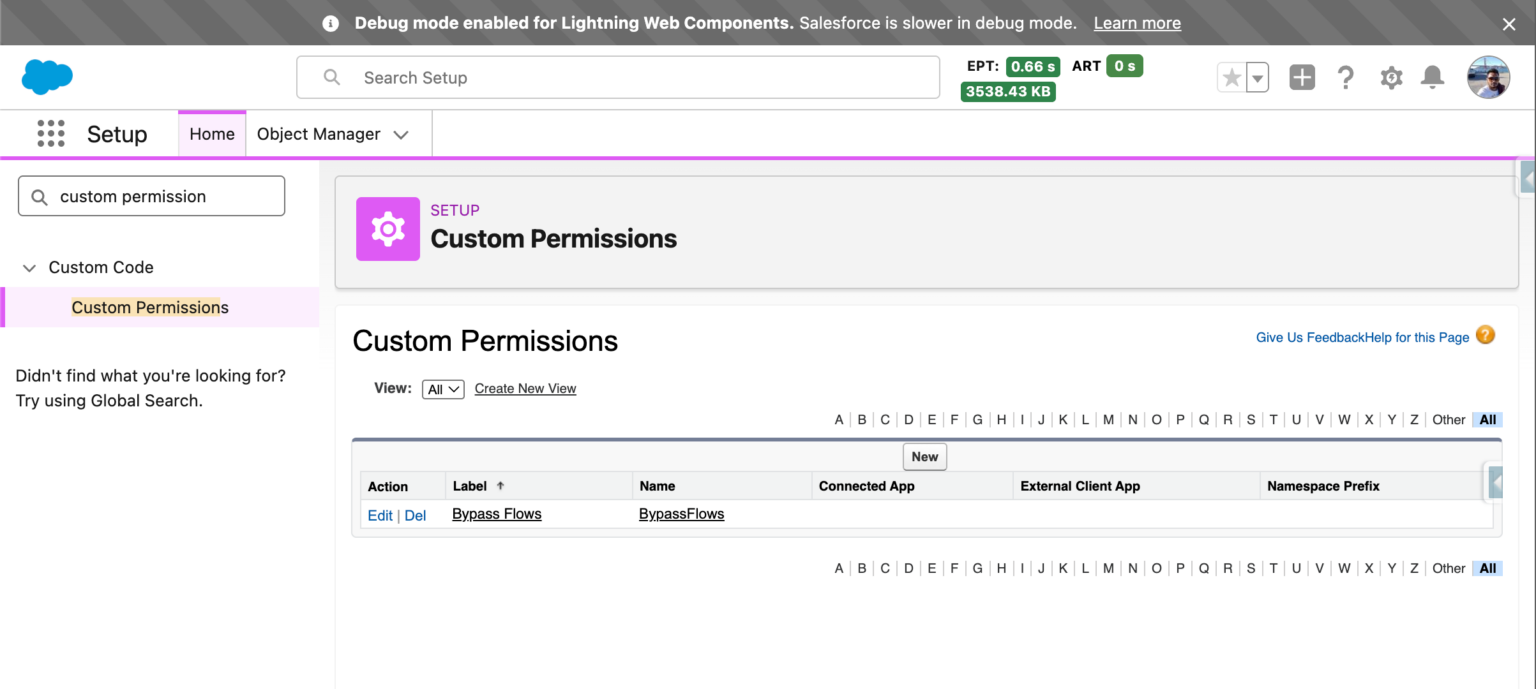
1. Navigate to Setup and search for Custom Permissions.
2. Click Create New.
3. Name it something logical, such as “Bypass Flows”.
Step 2: Create and Configure a Permission Set
To assign this permission to a user easily, it must be housed within a Permission Set.
1. Go to Permission Sets and create a new one. Give it a clear name like “Bypass Flows”.
2. Note: You do not need to assign a specific license type to this Permission Set.
3. Once created, scroll down to the Custom Permissions section within the Permission Set settings.
4. Click Edit and add your new “Bypass Flows” custom permission to the Enabled Custom Permissions list.
5. Save your changes.
Step 3: Assign the Permission to the “Migration” User
Now, you must identify who needs to bypass the automation (usually yourself or a dedicated integration user).
1. Click Manage Assignments within the Permission Set.
2. Select the relevant user (e.g., your own user record) and click Assign.
Step 4: Update the Flow Criteria to Bypass Salesforce Flows
This is where the magic happens. You need to tell the Flow to check if the running user has this specific permission.
1. Refresh your Flow Builder: Before editing, perform a refresh so the builder recognises the new Custom Permission you just created.
2. Save as New Version: It is best practice to save the Flow as a new version before making changes.
3. Switch to Formula Entry Criteria: To access the Custom Permission, you must change your Start condition syntax to a Formula.
The Logic: You want the automation to run only if the user does not have the permission.
In the formula editor, locate the $Permission global variable in the resource picker. Your formula should look similar to this logic:
AND(NOT($Permission.BypassFlows ), [Your Original Criteria, e.g., Status = ‘Active’] )
By using the NOT function, you ensure that if the running user has the permission assigned, the formula evaluates to false, and the automation is skipped.
The Result
Once activated, you can test this immediately. If you (the user with the Permission Set) update a record’s status to “Active,” the Flow will not trigger, and fields like “Client Start Date” will remain untouched. Meanwhile, standard users without the permission will continue to trigger the automation as normal.